How can we help?
RT 6-1000 NFC connection and operating information
24 January 2023
Follow the connection and operating procedure steps below for RT 6-1000.
Equipment Required:
- Sonardyne NFC module (part number: 265-7020)
- Sonardyne NFC configurator software
- RT 6-1000
- RT 6-1000 User Manual
Procedure:
1. Open the NFC configurator software.
2. Confirm the Connected status is reported.
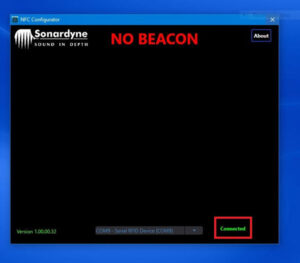
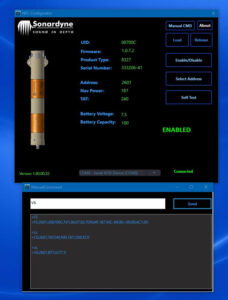
3. Connect the RT 6-1000; ensure the RT 6-1000’s transducer is positioned directly on or just above the NFC module. The NFC configurator software will automatically connect to the RT 6-1000 and will display either DISABLED or ENABLED with the beacon information.
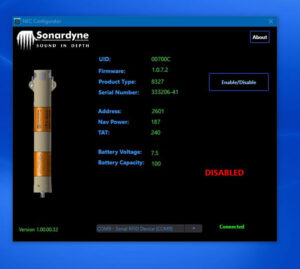
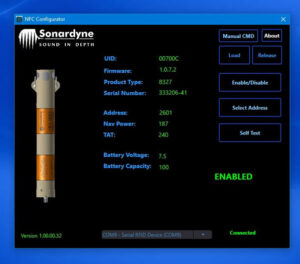
The RT 6-1000 will emit a beep when the Enable/Disable button is selected, and the mode of operation is changed.
Sonardyne strongly recommends the RT 6-1000 should be set to Disabled, unless on operations.
4. Prior to deployment, and as part of the deployment and recovery procedures, it is recommended to enable the RT 6-1000 and record the following information:
- UID
- Serial number
- Address
- Battery voltage
- Batter capacity
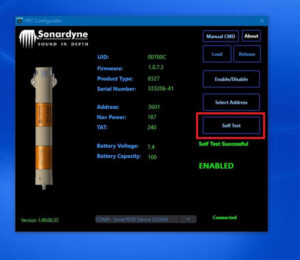
5. Complete a Self Test by clicking Self Test. If it passes, the NFC Configurator will display Self Test Successful.
6. Change the RT 6-1000 address (if required) by clicking Select Address (if you need to change the address, it is strongly recommended to note the original address and new address prior to deployment).
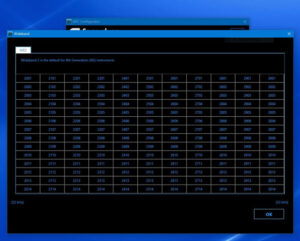
8. Send a manual command (as needed) by clicking Manual CMD.
Sonadyne strongly recommends the manual command should not be changed or modified.
The limited available commands are:
- FS – Fixed Status displays the address, UID, firmware, transducer type, power level, inclinometer status
- CS – Configuration Status displays the address and power level
- VS – Volatile Status displays battery information
Note: these commands are automatically sent during the initial communication and displayed on the Manual Command window.
Looking for more content?
Find more product support in our Knowledgebase
Haven't found what you're looking for?
Then speak to one of our team for expert help


