How can we help?
How to change the battery in an RT 6-1000
23 June 2021
RT 6-1000 is designed to have field replaceable battery packs and can be changed by a competent in the person in the field without any specialist equipment. This was a key design feature of the RT 6-1000 and we want to share just how easy it is.
Here we will go through a step by step guide which explains how to replace the battery:
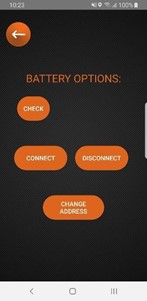
1. Disconnect the battery using the RT 6-1000 app.
Open the RT 6 App (available here https://play.google.com/store/apps/details?id=releaseApp.releaseApp&hl=en_GB&gl=US), connect to the release and click disconnect.

2. Before removing the transponder from the housing, operate the pressure relief vent valve to equalise the internal/external pressure. By using a pair of pliers on the relief valve. Once any pressure is released be sure to return the pressure relief valve to its flush state.

3. Remove the two shackles from the endcap housing (if they are installed), by unscrewing the retaining screws.
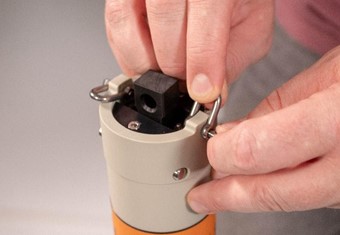
4. Using a 3 mm Allen key, unscrew the two M3 retaining screws a few turns to allow the two retaining pins to be removed.
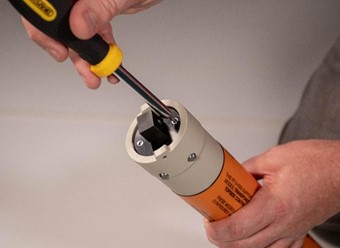
5. Using a thumb and suitable tool, push the two retaining pins out from the outer housing.
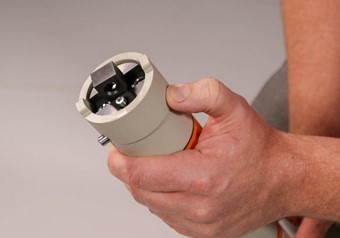
6. Carefully slide inner housing completely out of the outer housing.
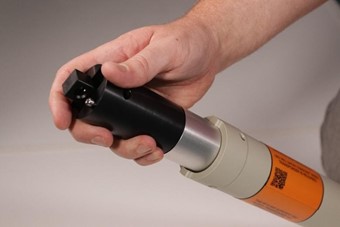
7. To remove the end cap, grip the transponder and use a twisting motion separate the endcap from the housing.
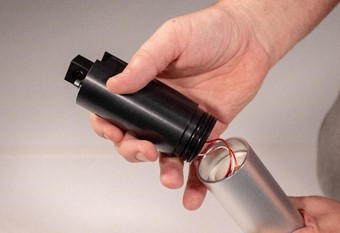
8. Remove the circular rubber gasket and then withdraw the battery pack from the housing using the red pull-cord.
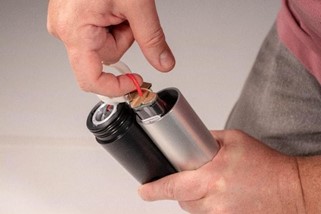
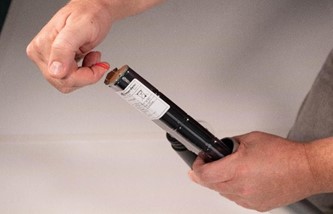
9. To insert a new battery, Insert the new battery pack into the housing and ensure the battery connector mates to the PCB.
10. Insert the circular rubber gasket against the PCB.
11. Push the endcap fully into the housing ensuring there is no gap between endcap and housing.
12. Push the transponder fully into the outer housing until it reaches the retaining flange.
13. Insert the two retaining pins.
14. Using a 3 mm Allen key, tighten the two M3 screws to lock the retaining pins.

15. Replace the two shackles on the endcap housing if required.
16. That’s the battery change complete with only two tools required, the next step is to check the battery using our RT6 app or iWAND.
Warnings
- Due to the high internal pressure risk, dismantling the sub-sea equipment must only be carried out by suitably qualified personnel.
- If the battery pack has failed or water has penetrated the internal housing, the battery pack may vent gasses causing the build-up of internal pressure.
- Risk of toxic gases and liquids. Make sure the work environment is well ventilated. Toxic gases and liquids may be released when operating the pressure relief vent valve.
- The transducer wiring is attached to the internal PCB. Take care not to pull or tension these wires. Support the endcap at all times.
- Inspect the O-rings for damage/contamination and replace if necessary.
- Use petroleum jelly to lightly lubricate the endcap O-rings if required.
Contact Support@sonardyne.com for more information.
Looking for more content?
Find more product support in our Knowledgebase
Haven't found what you're looking for?
Then speak to one of our team for expert help


